Updating your resume and picking out the perfect outfit for a big professional event helps set you up for a successful experience. Prepping your nails can also be a part of your routine. If you’re thinking about the details on your fingertips, I’ve got you covered.
Before executing a manicure suitable for a professional setting try to keep in mind that you want the attention to be on you and not your nails.
Here are four job interview-ready manicures:
1. Nude Nails. Opt for a nude base manicure during a networking opportunity for a clean-cut and polished look.

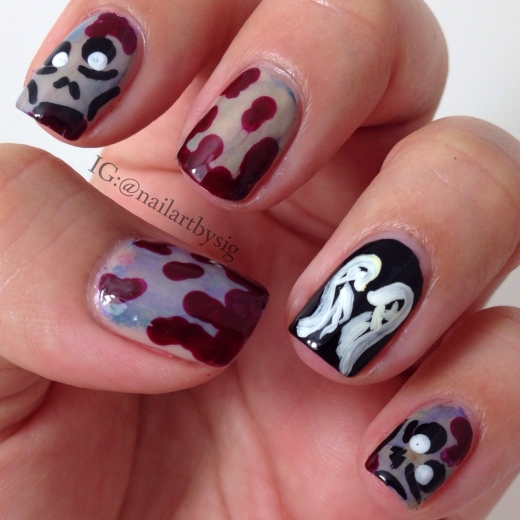
Instagram, @nailartbysig
2. Simple Chevron. A chic and bold chevron manicure moved tip-ward can showcase your professionalism and hint at your creative side.

3. Traditional French Tip. Executing a classic French tip manicure before a career-related event means you’re ready for business.

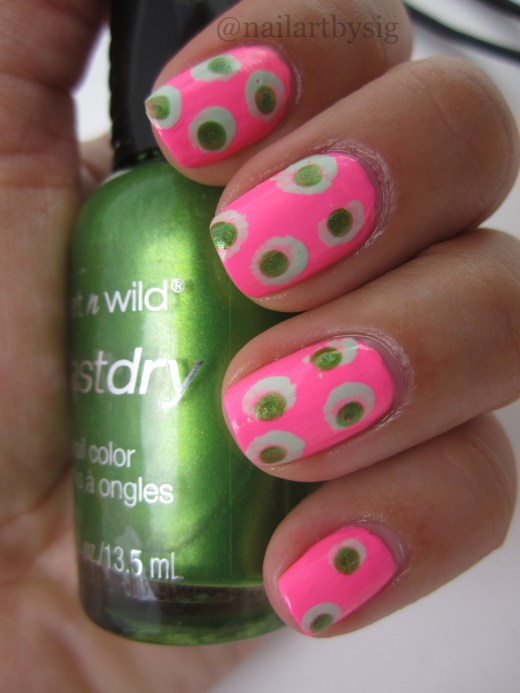
Instagram, @nailartbysig
4. Matte Nails. A matte french tip manicure with neutral colors shows off your trend-setting qualities while framing you as the go-getter you truly are.

Instagram, @nailartbysig
Don’t forget to wear your manicure with confidence! How are you going to prep your nails for your important event?