
Lately, I’ve been relating to Katy Perry’s latest album, Prism. Her power anthems radiate positivity and I am letting the light in.
I celebrated my 24th birthday in November. I definitely wanted to shine. So I figured the occassion called for a prismatic mani.
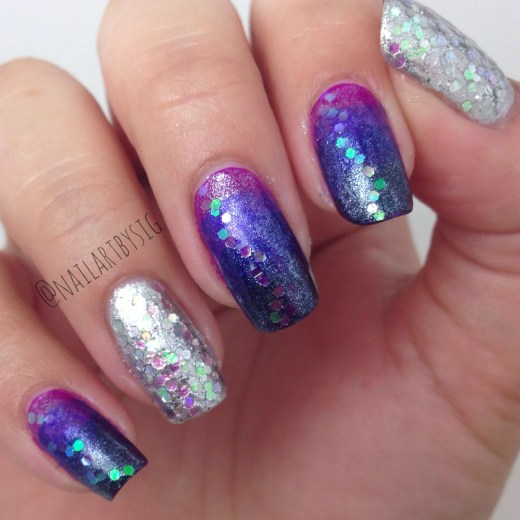
Instagram, @nailartbysig
I was particularly proud of the execution on both hands. They looked equally solid.

Instagram, @nailartbysig
This manicure definitely got some attention. That day, I out-shined my own candles.
Here is a video of the entire manicure.
What do you think of this look? Let me know in the comments below!


