DIY, EDM, Nail Art, Nails, Uncategorized, Vine

Sensation Ocean of White Inspired Nails

My nail art might just help me visit New York for the first time.

For the last few months I have eagerly waited for this weekend to arrive. On Saturday night, I will be a guest of Sensation’s “The Ocean of White” event in San Francisco. The production company from Amsterdam is touring the U.S. for the first time.

Sensation took to Vine to promote a contest challenging fans to share a creative video that included music or dancing to win a trip to their party in New York.

On Friday the 13th, I decided to try my luck.

I went ahead and recorded a time lapse video of a manicure inspired by the event’s all white theme and added their logo as an accent. This is my video entry.

The video got revined by Sensation’s official Vine account! I think that means they liked my entry, right? The winner of the contest hasn’t been selected. Please send me good vibes!

sensation-vine

Sensation USA is hosting a contest. I think this is a sign they liked my entry.

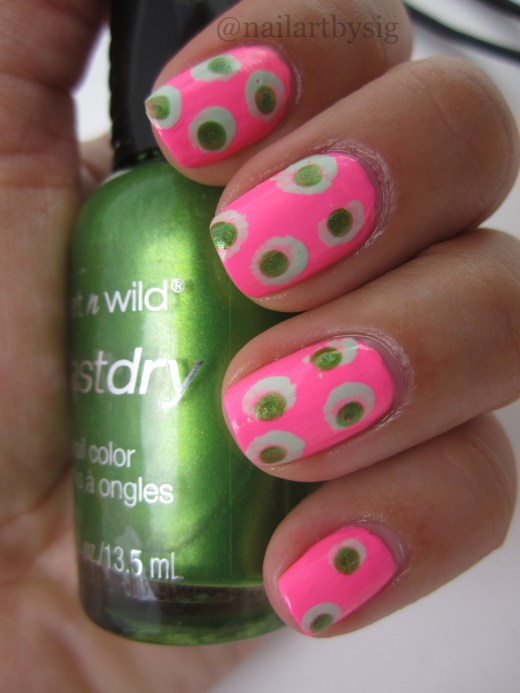
Here is the final nail art design.

sensation-ocean-of-white-nails

I am ready to dive into the Ocean of White in Oakland!

Let’s see what happens! I will make sure to update in case of any news.

Standard
Beauty, DIY, Nail Art, Nail Art Tutorial, Nails, Nails How To, Uncategorized

NYFW Inspired Manicure Tutorial: Halo Nails

New York Fashion Week was nail art heaven!

From textured nails to sleek designed nail art and the occasional three-dimensional pieces on fingertips, manicures held their own on the runway.

A halo nail design showcased by Ruffian, particularly caught my interest and I recreated it.

Find out how to get the cat walk look.

halo-nails-tutorail

The platinum halo stands out behind a matte finish.

What you will need: Base coat, silver polish, top coat, black polish and matte top coat.

1. Prep the nail with a base coat. Apply two coats of silver polish on all the nails. Once dry, apply top coat.

2. Use black polish to paint an upside down U and fill it in to form the platinum halo on the top. Apply a matte coat on the black polish when it is dry.

Check out this six-second tutorial to see how this fabulous manicure went from runway to everyday.

What do you think of the halo manicure? If you try the design, let me know by tagging me on Instagram @nailartbysig! 

Standard
Beauty, Breaking Bad, DIY, Nail Art, Nails, Uncategorized

Breaking Bad Inspired Nails

Breaking Bad inspires me.

My obsession with the epic AMC series and commitment to express my love and appreciation for the cast and crew, has taken my nail art skills to another level.

Please enjoy my series of Breaking Bad inspired nail art:

-To my other favorite, W.W., It’s an honor watching you. Fondly, S.N.

Image

Instagram: @nailartbysig

-Goodbye Los Pollos Hermanos, hello Vamonos Pest!

vamonos-pest-breaking-bad-nails

Instagram: @nailartbysig

-Ain’t it beautiful crystal blue persuasion? 

breaking-bad-nails

Instagram: @nailartbysig

-From parking tickets to mass murder. Better call, Saul! Because he cares. 

better-caul-saul-nails

Instagram: @nailartbysig

-Remember his name. 

heisenberg-nail-art

Instagram: @nailartbysig

-The first lab, the Crystal Ship. 

breaking-bad-rv-nails

Instagram: @nailartbysig

-All hail the king.

breaking-bad-logo-nails

Instagram: @nailartbysig

-The end is here.

breaking-bad-finale-ozymandias-nails

Instagram: @nailartbysig

I also attempted to make some progression videos to show how I got to the final design. Take a look.

What do you think about my Breaking Bad inspired manicures?

Standard
Beauty, DIY, Nail Art, Nail Art Tutorial, Nails, Nails How To, Uncategorized

Nail Art How To: Glitter Manicure

If you’re in the mood to get crafty, I’ve got the perfect project for you.

gliter-nails-manicure-how-to

Sprinkle on the pixie dust to add some texture and glamour to your digits.

Textured manicures are trending this Fall season. But if you still haven’t been convinced of the look, try out this design to get a similar effect using typical arts and craft glitter.

What you will need: Loose glitter dust, red polish, clear polish, base and top coat, some q-tips and nail polish remover.

1. Prep the nail with the base coat. Apply two coats of red polish to the entire nail.

2. Once dry, dab on some clear polish to the top of the nail bed without getting too close to the nail matrix. Sprinkle on the glitter dust while the clear polish is still wet. Shake off any excess glitter and clean up around the nail using a q-tip dipped in polish remover.

3. Let the design completely dry and finish off with a top coat.

Check out this video and find out how glitter really does make everything better.

Let me know if you try this look by tagging #nailartbysig in your photo. Good luck! 

Standard
Beauty, DIY, Nail Art, Nail Art Tutorial, Nails, Nails How To, Uncategorized

Nail Art How To: Love Triangle

The chevron manicure isn’t going anywhere any time soon. But I figured, a new season calls for some change.

chevron-nail-how-to

A sleek spin on a classic chevron manicure. Get this look in three steps.

If you’re a fan of nail art, you probably saw this look in Nail It! Magazine’s September issue. The beauty publication called this design, “Love Triangle.”

Find out just how easy it is to move the chevron pattern tip-ward.

1. Prep the nail with a base coat. Apply two coats of red polish.

2. Once dry, apply purple polish from the nail matrix to the tip with a diagonal stoke leaving a small triangle on the tip of the nail bed.

3. Let the design completely dry and finish off with a top coat.

Check out this six-second tutorial to see the application process.

Let me know if you try this design. Good luck!

Standard
Beauty, DIY, Nail Art, Nail Art Tutorial, Nails, Nails How To, Uncategorized

Nail Art Hack: The Dotting Tool

No dotting tool? No problem!

Turns out you don’t really need a nail art pen to add contrast and designs to your manicure.

no-dotting-tool-how-to-nails

Easily add design to your manicure using items around the house.

Here’s a nail art hack: You can replace a dotting pen with toothpick or a bobby pin.

What you’ll need: Base coat, pink polish, green polish, light green polish, top coat, a piece of foil, a q-tip, a toothpick or bobby pin.

1. Prep the nail with a base coat. Apply two coats of pink polish on the entire nail.

2. Take a light green polish and put a blot of lacquer on a piece of foil. Dab some of the polish on the end of a q-tip and apply dots to the nails.

3. Put another blot of green polish to the foil and use the ball point end of a bobby pin, or a toothpick with the end broken off, to apply dots over the light green polish dots.

4. Let the design completely dry and finish off with a top coat.

Check out this six-second tutorial and find out for yourself how easy this manicure can be executed.

Let me know if you try this design! What colors did you go with?

Standard