Beauty, Breaking Bad, DIY, Nail Art, Nails, Uncategorized

Breaking Bad Inspired Nails

Breaking Bad inspires me.

My obsession with the epic AMC series and commitment to express my love and appreciation for the cast and crew, has taken my nail art skills to another level.

Please enjoy my series of Breaking Bad inspired nail art:

-To my other favorite, W.W., It’s an honor watching you. Fondly, S.N.

Image

Instagram: @nailartbysig

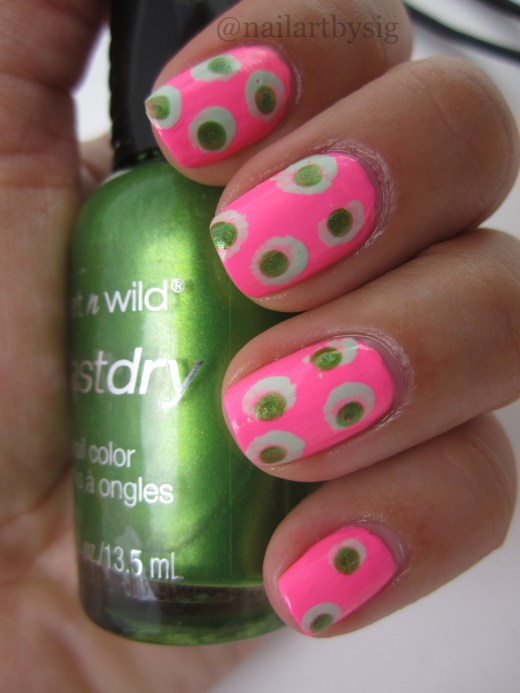
-Goodbye Los Pollos Hermanos, hello Vamonos Pest!

vamonos-pest-breaking-bad-nails

Instagram: @nailartbysig

-Ain’t it beautiful crystal blue persuasion? 

breaking-bad-nails

Instagram: @nailartbysig

-From parking tickets to mass murder. Better call, Saul! Because he cares. 

better-caul-saul-nails

Instagram: @nailartbysig

-Remember his name. 

heisenberg-nail-art

Instagram: @nailartbysig

-The first lab, the Crystal Ship. 

breaking-bad-rv-nails

Instagram: @nailartbysig

-All hail the king.

breaking-bad-logo-nails

Instagram: @nailartbysig

-The end is here.

breaking-bad-finale-ozymandias-nails

Instagram: @nailartbysig

I also attempted to make some progression videos to show how I got to the final design. Take a look.

What do you think about my Breaking Bad inspired manicures?

Standard
Beauty, DIY, Nail Art, Nail Art Tutorial, Nails, Nails How To, Uncategorized

Nail Art How To: Glitter Manicure

If you’re in the mood to get crafty, I’ve got the perfect project for you.

gliter-nails-manicure-how-to

Sprinkle on the pixie dust to add some texture and glamour to your digits.

Textured manicures are trending this Fall season. But if you still haven’t been convinced of the look, try out this design to get a similar effect using typical arts and craft glitter.

What you will need: Loose glitter dust, red polish, clear polish, base and top coat, some q-tips and nail polish remover.

1. Prep the nail with the base coat. Apply two coats of red polish to the entire nail.

2. Once dry, dab on some clear polish to the top of the nail bed without getting too close to the nail matrix. Sprinkle on the glitter dust while the clear polish is still wet. Shake off any excess glitter and clean up around the nail using a q-tip dipped in polish remover.

3. Let the design completely dry and finish off with a top coat.

Check out this video and find out how glitter really does make everything better.

Let me know if you try this look by tagging #nailartbysig in your photo. Good luck! 

Standard
Beauty, DIY, Nail Art, Nail Art Tutorial, Nails, Nails How To, Uncategorized

Nail Art Hack: The Dotting Tool

No dotting tool? No problem!

Turns out you don’t really need a nail art pen to add contrast and designs to your manicure.

no-dotting-tool-how-to-nails

Easily add design to your manicure using items around the house.

Here’s a nail art hack: You can replace a dotting pen with toothpick or a bobby pin.

What you’ll need: Base coat, pink polish, green polish, light green polish, top coat, a piece of foil, a q-tip, a toothpick or bobby pin.

1. Prep the nail with a base coat. Apply two coats of pink polish on the entire nail.

2. Take a light green polish and put a blot of lacquer on a piece of foil. Dab some of the polish on the end of a q-tip and apply dots to the nails.

3. Put another blot of green polish to the foil and use the ball point end of a bobby pin, or a toothpick with the end broken off, to apply dots over the light green polish dots.

4. Let the design completely dry and finish off with a top coat.

Check out this six-second tutorial and find out for yourself how easy this manicure can be executed.

Let me know if you try this design! What colors did you go with?

Standard
DIY, Galaxy Nails, Nail Art, Nail Art Tutorial, Nails, Nails How To

Galaxy Nails Tutorial

Do you want to rock a manicure that is out of this world? Get ready for take off!

Galaxy-Nails-Nail-Art-Glitter-Nails

Blend your favorite polishes for a beautiful atmosphere at the tip of your finger.

Here’s how to bring out your inner space cadet with a galaxy nails manicure that will take to the moon in just three steps.

1. Prep the nail with a base coat. Apply two coats of black polish to the entire nail.

2. Once dry, take a makeup sponge and dab one blot of a pink polish. Repeat step with your choice of polishes for your ideal Milky Way mani.

3. Use a dotting tool and white polish to apply a couple of stars (dots) on the nail.

3. Layer on a thin coat of glitter polish. Let the design completely dry and finish off with a top coat.

Check out this six-second video tutorial and find out what colors I blended to create my galaxy nails manicure.

Blast off!

Standard