Art Deco, Butter London, DIY, Essie, Marc Jacobs, Nail Art, Nail Art Tutorial, Nail Polish Swatch, Nails, Nails How To, Negative Space, Orly, Style

5 Valentine’s Day Nail Art Ideas

While Valentine’s Day is meant to appreciate and acknowledge loved ones, the holiday is also an opportunity to love yourself a little bit more.

Here are five manicure ideas that will show off your inner confidence and big heart:

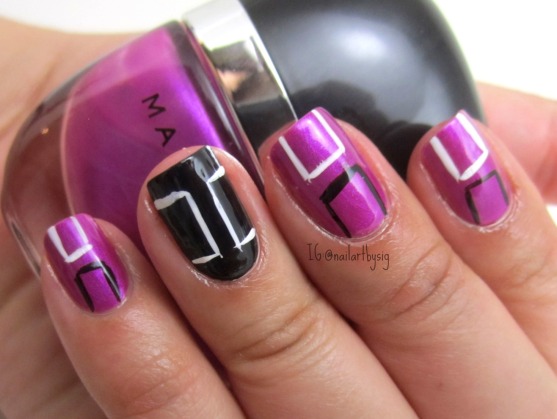
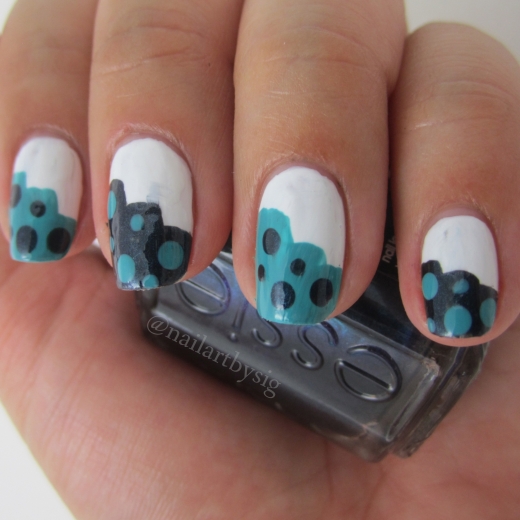
1. Perfectly pink digits with a negative space design that says you’re ready to try something new.

valentines-day-nails-negative-space-butter-london

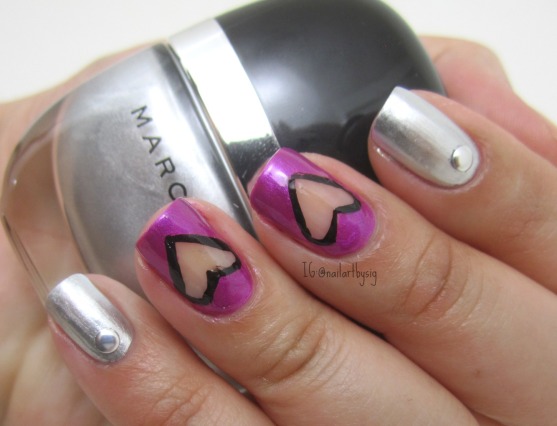
2. Two hearts paired with metallic polish for the hopeless romantic with an edge.

valentines-day-nails-hearts

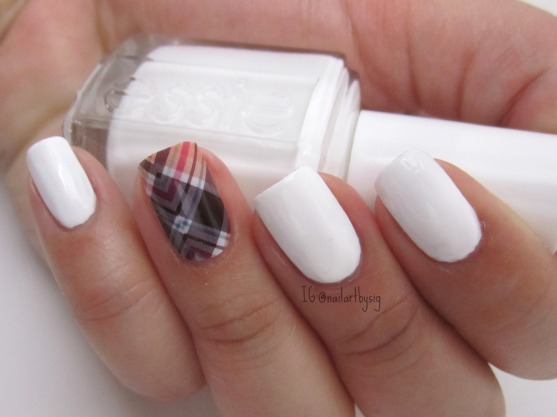
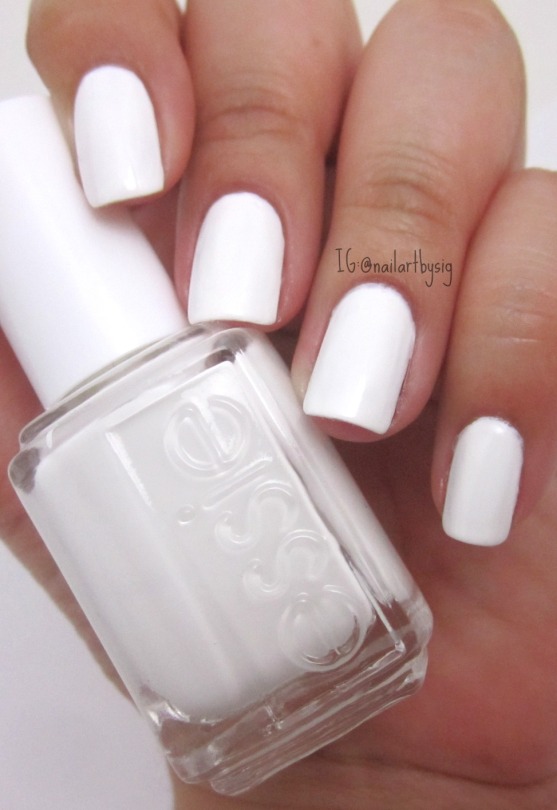
3. Plain white nails to embrace a blank slate filled with possibilities of love.

essie-blanc-valentines-day-nails

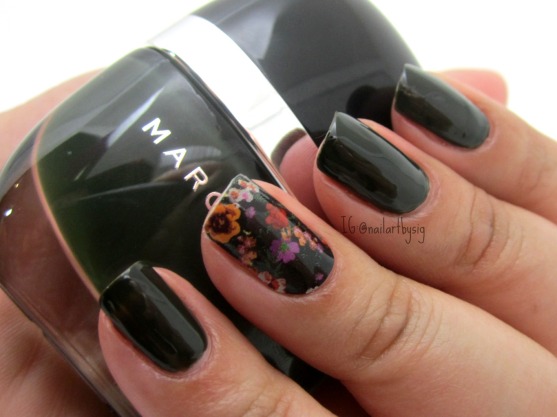
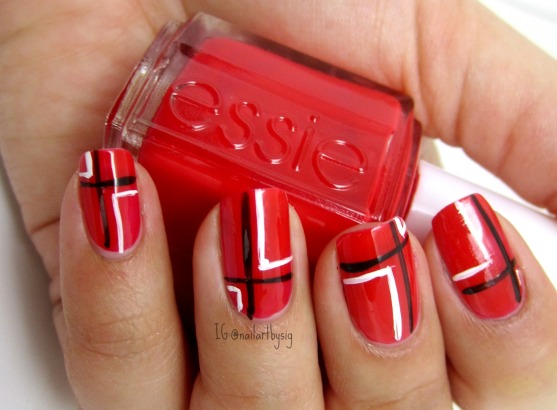
4. A classic crimson base manicure with a plaid design for the bold lover.

valentines-day-nails-plaid-nails

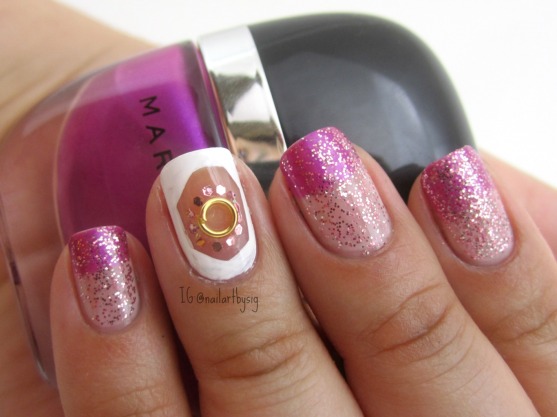
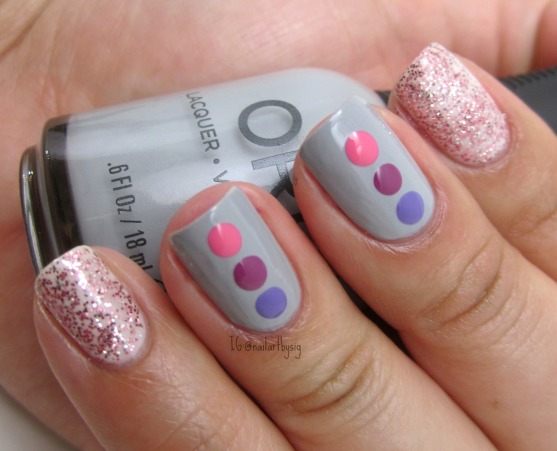
5. Glitzy nails for the Valentine that wants to show off her sweet side.

valentines-day-nail-art

What do you think of these Valentine’s Day designs? Let me know in the comments below!

Standard
Art Deco, Beauty, China Glaze, DIY, Marc Jacobs, Nail Art, Nail Art Tutorial, Nail Polish Swatch, Nails, Nails How To, Style

Graphic Square Nail Art

Make an already bold nail polish even bolder with a graphic design.

I’m wearing Marc Jacobs 118 Oui! ($18) and China Glaze Liquid Leather ($5.50) on the accent. I painted mirrored square halves on the top and bottom of the nails using black and white striper polishes.

graphic-square-nails

What do you think of this design? Let me know in the comments below!

Standard
Art Deco, Beauty, DIY, Essie, Fashion, Marc Jacobs, Nail Art, Nail Art Tutorial, Nail Polish Swatch, Nails, Nails How To, Negative Space, Vine

Nails of the Day: Gradient Negative Space Nail Art

Happy Grammy’s day! Contemporary chic meets absolute cuteness in today’s featured nail art.

I used Sugar Coat by Wet n Wild ($1.49) as a base color, added Oui! by Marc Jacobs ($18) as a gradient and layered a coat of Sparked by Wet n Wild ($4.70). To outline the accent nail I used Blanc by Essie ($8.50). I applied a nail accessory from Ocean Nails Supply in the center negative space and placed sequins from Jewelry Heist by Spoiled ($1.99) around the nail art ring.

gradient-negative-space-nail-art

Here’s a time lapse video of the making of this manicure.

What do you think of this look? Let me know in the comment below!

Standard
Art Deco, Beauty, DIY, Essie, Fashion, Marc Jacobs, Nail Art, Nail Art Tutorial, Nail Polish Swatch, Nailed Kit, Nails, Nails How To

Jamberry Nails Review

After recently playing with Nailed Kit’s water slide nail art decals and Essie’s nail appliques, my love for vinyl nail stickers has definitely grown. So when Jill, a Jamberry Nails Independent Consultant, sent me over a sample of their nail wraps I got psyched and they didn’t disappoint.

Initially I was impressed with Jamberry Nails intricate and varied designs. I received six decals and chose to try them on as an accent.

jamberry-nails-decals

The application process called for a unique step after a routine nail cleaning and cuticle push. The nail wrap requires heat to soften the adhesive before you stick it on. I pointed my blow dryer on the wrap and used it on a low heat setting for about 5 seconds. It worked.

how-to-use-jamberry-nails

I placed the wrap on my ring finger while it was still warm. I found it best to make sure the placement fit before pressing on the wrap to seal it on because the glue got pretty sticky. I used a rubber cuticle pusher to flatten out any bubbles that formed.

jamberry-nails-review

I folded the leftover sticker and filed it off in a downward motion to get the right fit. While the included directions do not mention to seal the sticker with a top coat, I recommend applying a layer of it if you intend on wearing the wraps for a few days.

jamberry-nails-review-1This is a sample of Reminisce ($15). I paired it with Marc Jacobs’ 128 Nirvana ($18).

jamberry-floral-nails-marc-jacobs-nail-polish

This is Poised Plaid ($15). I paired it with Essie’s Blanc ($8.50).

jamberry-nails-poised-plaid

This is Wisteria ($15). I paired it with Marc Jacobs’ 122 Ultraviolet ($18).

jamberry-nails-wisteria

What do you think of Jamberry Nails? Let me know in the comments below!

Standard
Art Deco, Beauty, DIY, Fashion, Nail Art, Nail Art Tutorial, Nails, Nails How To, Negative Space, Style, Uncategorized

Negative Space Nail Art

Intricate negative space manicures are in this holiday season. Inspiration for the designs can be found in fashionable cutouts and sheer panels from skin-baring ensembles right off the runway.

From Nail It! Magazine’s interview with nail artist, Naomi Yasuda, to Teen Vogue’s nail art tutorial by nail guru, Madeline Poole, it’s clear that the look is here to stay. But blending bare nails with colorful designs requires a little bit more patience than your typical nail art.

To kick off my adventure into a season of negative space manicures, I started with something simple. To quote Eden Univer, “You’re four lines away from too-cool nail art.”

negative-space-nails

Instagram, @nailartbysig

What do you think of this look? Show me your negative space mani by tagging me on Instagram @nailartbysig!

Standard
Art Deco, Beauty, DIY, Minnie Mouse Nails, Nail Art, Nail Art Tutorial, Nails, Nails How To, Uncategorized

Art Deco Nails Tutorial

Be retro and bold in a manicure filled with geometric shapes and strong colors.

Polka-Dots-Nails-Stripes-Nails-Nail-Art

Be bold in an art deco manicure that’s easy to execute with two techniques.

To execute this art deco manicure, you’ll need to mix two techniques: brushing and dotting. You’ll also need three different colored polishes of your choice.

Let’s get to work.

1. Prep the nails with a base coast. Once dry, apply two coats of a polish of your choice. I chose white polish as the background color in the manicure pictured above.

2. Using a thin brush or the side tip of your polish brush, apply one vertical line on the left side of the nail bed above the vertical half-way mark. You can mix and match the polishes as I did the manicure shown above.

3. Draw on two more vertical stripes one shorter than the previous one so that it looks like your phone’s reception bars.

4. Apply dots of the opposite polish color using a dotting tool.

5. Let the design completely dry and finish off with a top coat.

Check out this six-second tutorial and find out why mixing techniques creates a great manicure.

Let me know if you try out this design. Good luck!

Standard